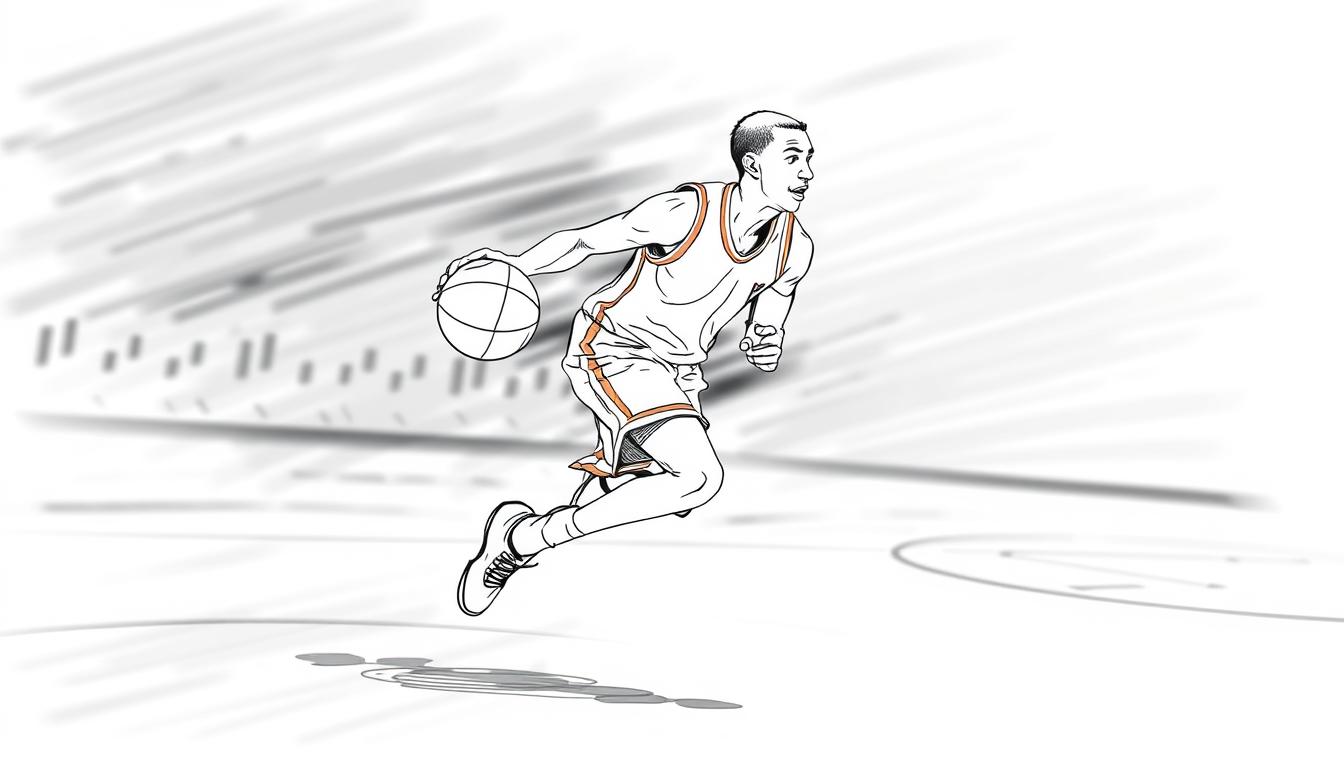
Learn to draw realistic basketball scenes with this detailed guide. It’s perfect for both new and experienced artists. You’ll discover key techniques, materials, and tips to make your basketball drawings pop.
From learning basic shapes to adding fine details, this tutorial has got you covered. It will teach you how to create sports art that truly captures the spirit of basketball.

Key Takeaways
- Explore fundamental basketball shapes and perspectives
- Learn essential drawing materials and setup for success
- Dive into panel details, textures, and seam lines
- Master shading techniques for realistic effects
- Enhance your illustrations with highlights, shadows, and reflections
Getting Started with Basic Basketball Shapes
Learning to draw a basketball begins with knowing the basic shapes it’s made of. We need to get good at drawing circles and ovals. These are the key shapes for a realistic basketball outline.
Understanding Circle and Oval Fundamentals
The basketball’s shape is mostly circles and ovals. By practicing these shapes, you’ll get better at drawing the ball. Try different sizes and angles to show the ball’s shape and depth.
Mastering Perspective Lines
Perspective drawing is key for a realistic basketball. Learn about vanishing points and horizon lines. These help make your drawings look three-dimensional and lifelike.
Creating Basic Basketball Structure
Now you know circles, ovals, and perspective. Start drawing the basketball’s basic shape. Pay attention to size and shape. Use geometric shapes and perspective drawing to make a basketball outline that looks good.
The skills you learn here will help with your basketball drawings. By mastering these basic sketching skills, you’ll make amazing basketball pictures.
Essential Drawing Materials and Setup
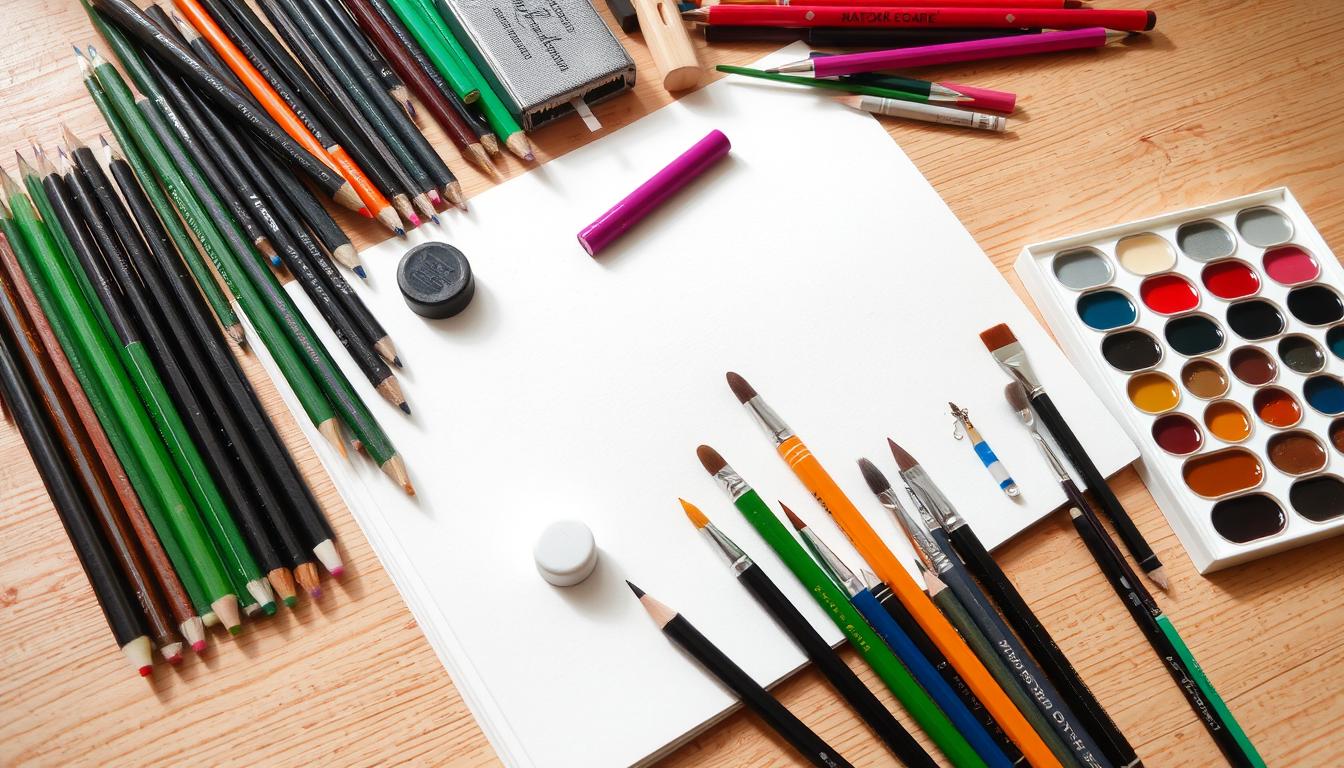
To draw a realistic basketball, you need the right tools and a tidy workspace. We’ll look at the key art supplies and setup for your drawing journey.
Pencils and Erasers
Having different pencil grades is crucial. Begin with a 2H pencil for the initial sketch and outline. Then, switch to softer pencils like 2B or 4B for shading and depth. A good kneaded eraser is also important for fine-tuning your drawing.
Sketching Paper
The paper you choose affects your drawing’s quality. Go for smooth, acid-free paper that’s medium to heavy weight, like 80-100 lb. This ensures your pencil strokes are smooth and prevents bleeding or ghosting.
Additional Tools
- Blending stumps or tortillons for smooth transitions and edges
- A sharpener to keep your pencils sharp
- A drawing board or portable easel for a stable, comfortable workspace
With the right art supplies and a well-organized studio, you’ll be on your way to drawing a stunning basketball.

| Pencil Grade | Use |
|---|---|
| 2H | Initial sketching and outlining |
| 2B, 4B | Shading and adding depth |
“The quality of your art supplies can make a significant difference in the outcome of your drawing.”
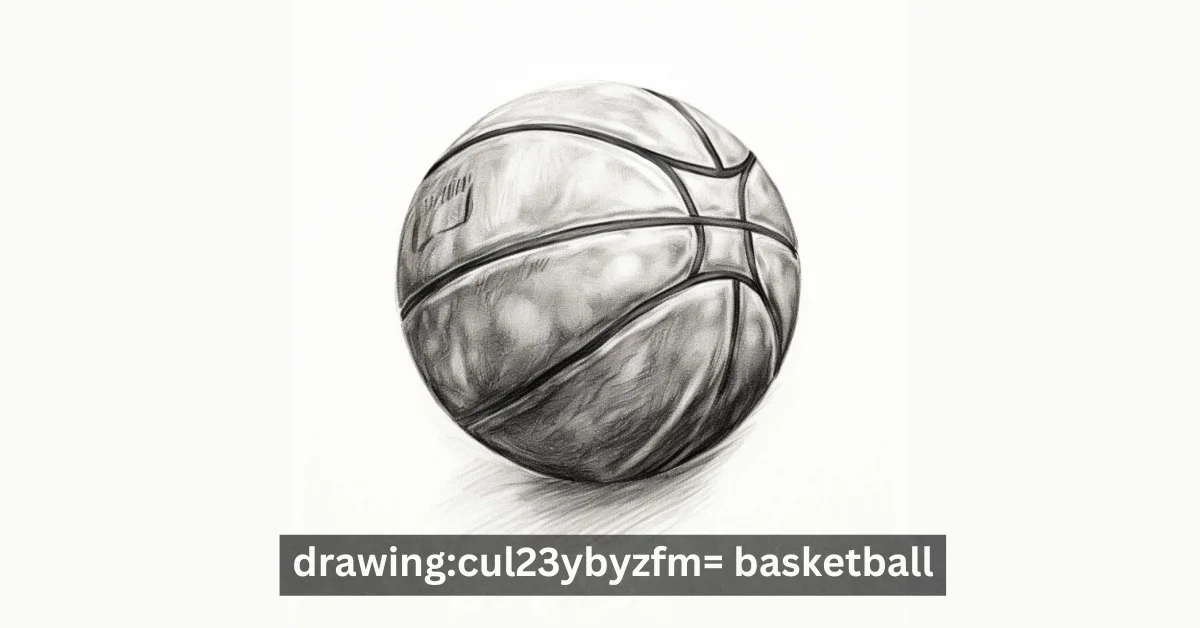
Drawing:Cul23Ybyzfm= Basketball Panel Details
To draw a realistic basketball, focus on the small details that make it look real. These details include the panel pattern, textures, and seam lines. Each part is important for making your drawing come alive. We’ll explore how to capture the look of a basketball texture, panel design, seam detailing, and surface patterns.
Mapping the Panel Pattern
The first step is to draw the panel layout. The basketball has a unique design with hexagonal and pentagonal shapes. By drawing these panels, you set the shape and structure of your basketball.
Adding Texture and Depth
After drawing the panels, add texture and depth. The basketball texture looks like dimples. Use shading to make it look three-dimensional. This will make your drawing feel real and touchable.
Creating Realistic Seam Lines
The last step is to draw the seam detailing. These lines make the panels look real and add depth. Focus on the line weight and shadows to make it look authentic.

Learning these techniques will help you draw a basketball that looks real. It shows your skill and attention to detail.
| Technique | Description |
|---|---|
| Mapping the Panel Pattern | Accurately sketch the intersecting hexagonal and pentagonal panels to establish the overall structure and shape of the basketball. |
| Adding Texture and Depth | Utilize shading techniques to capture the subtle, dimpled basketball texture and create a realistic, three-dimensional surface pattern. |
| Creating Realistic Seam Lines | Carefully render the interlocking seam detailing with variations in line weight and subtle shadows to achieve an authentic panel design. |
Shading Techniques for Realistic Effects
To make your basketball drawing look real, you need to learn shading. By trying out different pencil shading techniques, you can make your drawing pop. You’ll add depth and dimension to your artwork.
Hatching is a basic method. It involves drawing lines close together to show light and shadow. This helps set the basic tonal values of your basketball.
Cross-hatching is a step up. It adds lines at right angles to the first ones. This makes your drawing look more textured and detailed. It’s great for showing the seams, ridges, and contours of the basketball.
Blending is for creating smooth gradients and transitions. It softens the edges of your shading. This makes your drawing look more realistic, with natural light and shadow effects.
Learning these pencil shading techniques will take your basketball drawings to the next level. With practice, you’ll get better at creating value scales, tonal shading, and light and shadow. Your artwork will come alive and really catch the eye.
Adding Highlights and Shadows
Mastering highlights and shadows is key to making your basketball drawing pop. Understanding light and shadow play helps add depth, texture, and realism. This makes your artwork stand out.
Light Source Positioning
The light source’s position is vital for highlights and shadows. Try different light spots to get the look you want. A light above and slightly to the side creates deep shadows that highlight the ball’s shape.
Creating Dynamic Reflections
The basketball’s reflective surface is perfect for dynamic reflections. Study how light acts on reflective surfaces. Use this to add contrast in drawings and light effects that make your basketball look real.
Surface Detail Enhancement
Focus on the surface detail of the basketball to improve your drawing. Use highlight techniques to show the leather’s texture, reflective surfaces, and the ball’s unique patterns.
“The true mastery of basketball drawing lies in the interplay of light and shadow, where the simplest of shapes can be transformed into a captivating work of art.”
By using light and shadow, you can make a basketball drawing that really catches the eye. Try out different light effects, reflective surfaces, and highlight techniques to find the right mix for your artwork.
Conclusion
By following this step-by-step guide on how to draw basketball, you’ve learned a lot. You now know how to improve your drawing practice and art improvement skills. You’ve learned about the basic shapes, perspectives, and how to add realistic details and shading.
The journey to get better at drawing is ongoing. Keep practicing your basketball drawing often. Try out different materials and techniques. Challenge yourself to draw more complex scenes, showing the sport’s dynamic movements and perspectives.
By regularly improving your drawing practice, you’ll see big changes in your art improvement and basketball illustration skills.
Try drawing other sports like soccer, football, or figure skating too. The skills you learned here can help you draw many different things. This will help you grow as an artist and learn more about realistic object rendering.
“Continuous practice and a willingness to experiment are the keys to unlocking your full potential as an artist.”
Keep practicing, and you’ll get better and more confident. Don’t be afraid to try new things and celebrate your wins. Your journey to improve at basketball drawing will be rewarding and full of possibilities.
Additional Resources and Tips
Want to get better at drawing basketball? Check out our top picks for resources. You’ll find drawing tutorials from famous artists, join art communities for sports fans, and practice exercises to improve your skills.
Looking to learn more? “The Art of Basketball” by Michael Jordan is a must-read. It teaches you the basics and advanced techniques for drawing basketball. You’ll learn how to capture the sport’s dynamic movements and unique features.
Join online art communities like the “Sports Art Collective” and the “Basketball Illustrators” forum. These places are great for sharing your art, getting feedback, and learning from others. You’ll meet artists who love sports illustration just like you.
FAQ
What are the essential materials needed for drawing a basketball?
You’ll need pencils from 2H to 6B, a sketchpad or drawing paper, and a good eraser. You might also use blending stumps or tortillons.
How do I create the basic structure of a basketball?
Start by learning about circular and oval shapes. Use perspective techniques to draw the basic form. This makes it easier to add details later.
What steps should I follow to accurately map the basketball’s panel pattern?
First, understand the panel layout. Then, design a grid system. This ensures your drawing looks realistic with the right panel placement and proportions.
How can I add texture and depth to my basketball drawing?
Use shading techniques like hatching and blending to add texture. Paying attention to light and shadow also adds depth and dimension.
What are some tips for creating dynamic reflections on the basketball’s surface?
Position the light source correctly and understand how the ball’s shape affects reflections. Try different shading methods and focus on highlights for a polished look.
Where can I find additional resources for improving my basketball drawing skills?
Check out online drawing communities, tutorials, and books on sports illustration. Regular practice and feedback from artists can also help you get better.
